Hey everybody,
Another long week and another hobby light week sadly. I'm off to Hong Kong on the 16th to present some of my scientific data and all the preparation for that as well as work has me going a million miles an hour.
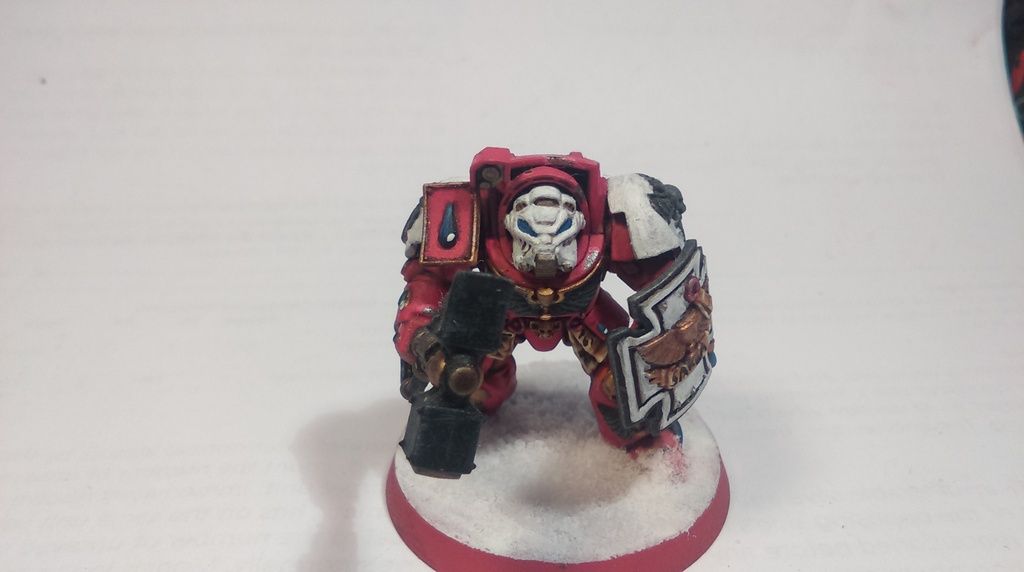
Anyway, this week I re-painted some Blood Angel terminators that I had become dissatisfied with. I'd previously painted them very dark and weathered them with drybrushed silver followed by bronze, in all honesty it looked as bad and lazy as it sounds. Below are a few pictures:

So, these guys had all the red open areas re-painted with a thinnish coat of wazdakka red and a thin layer of white scar over all the white areas. In the end I think this actually has lent a bit more depth to the models which was an unexpected surprise. Here's a couple of groups pics:

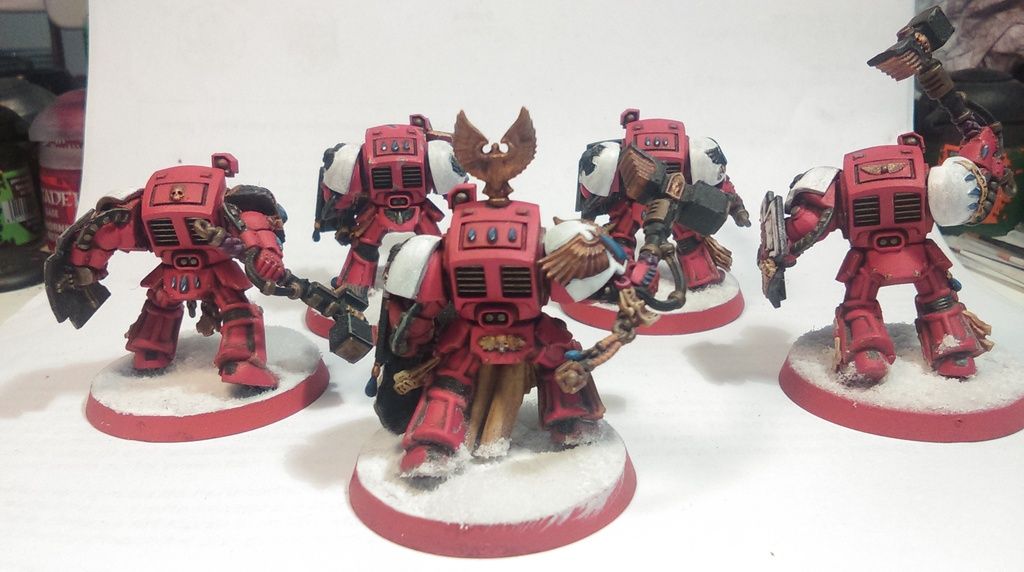
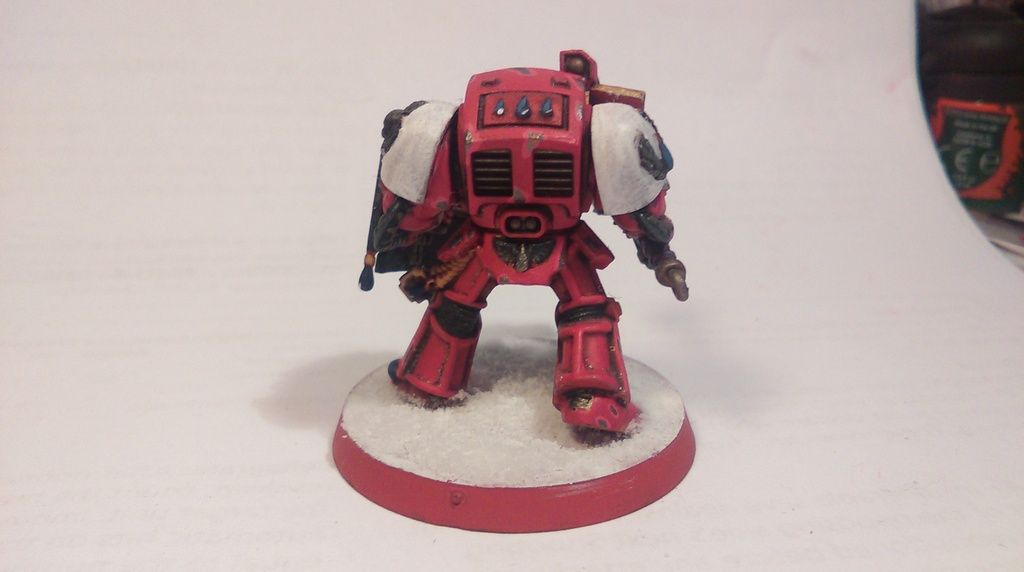
Or perhaps as I look from the back it less depth? Darn I cannot make up my mind.
However here comes the bit where I beg steal and borrow advice from any of you that wish to give it. As much as I like the clean cut look of them now I would like to weather them. However I'm struggling here, I've practised with a few tutorials and I just can't seem to pull off an of the main effect. I'm pretty shy from using weathering powders as I feel I would just balls up all the work painting (and then re-painting!) these guys.
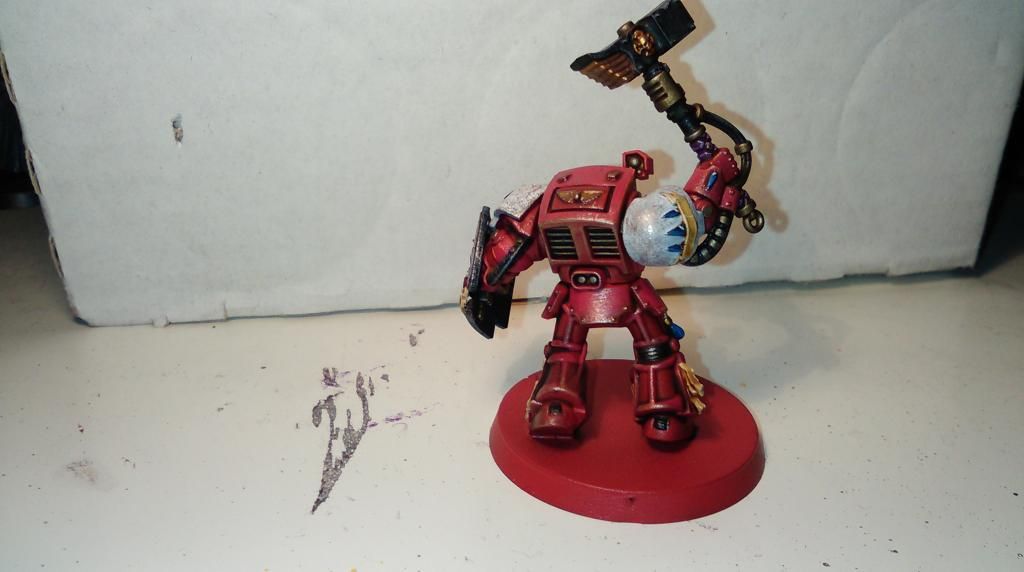
I had a go at the layer light paint followed by a metallic weathering on one guy who you may have noticed at the back of the group photos. Here's a few pictures of him plus and minus flash:


What do you fine people think? I'm undecided on it, some times I think it looks good, other times I thinks its not so good. Or do you think I should leave them clean? I'm not totally adverse to that if people really think they look better. I paint for myself but also so someone can enjoy a nice cinematic battle against a painted army so its always nice to know how other people will view it.
I had splodge around with a sponge dipped in the underlying pink used on the above model, just on tissue paper, but felt equally nervy about taking that and applying it to a model.
So if you have any opinions on what I should or shouldn't do, or if I've already got it down OK, please do leave a comment below and help me make up my mind, I would be very appreciative for any help :)
I'm hoping to post this friday coming before I go to Hong Kong but I feel it will be a hobby-less week and it may be a week or two before I post again,
Hopefully I won't lose my 1 or 2 readers!!!
Over and out,
Rob
You can test a sponge on another surface (like your hand or paper) before applying it to the model. The trick is using it just on the edges to get a more random effect. If you want a specific chipping effect though, you'll want to apply it manually with a brush, using a dark spot/bright spot technique.
ReplyDeletehttp://handcannononline.com/blog/2011/07/25/tutorial-advanced-that-one-hurt-painting-battle-damage/
When painting individual chips, the secret is the brighter highlight. This is a good article that might help you. That and remembering that you can always use your base color to cover things up if you make a mistake!
Hi Greg,
DeleteSorry for the late reply, real life has had me at the grind stone for some time! Thanks for the linky, spells out the technique very nicely. I had tried dabbing the sponge on paper before hand I just struggled to visualise the blobs on the model and how they would give the weathering look.
The guide gives me a bit more confidence to have a stab at this!
Cheers muchly
Rob